When it comes to Instagram, photographing food has truly become an art form. Whether you’re showcasing your latest culinary creation or sharing your favorite dish from a local restaurant, capturing mouth-watering food photos can you get you lots of likes and follows, when done right.
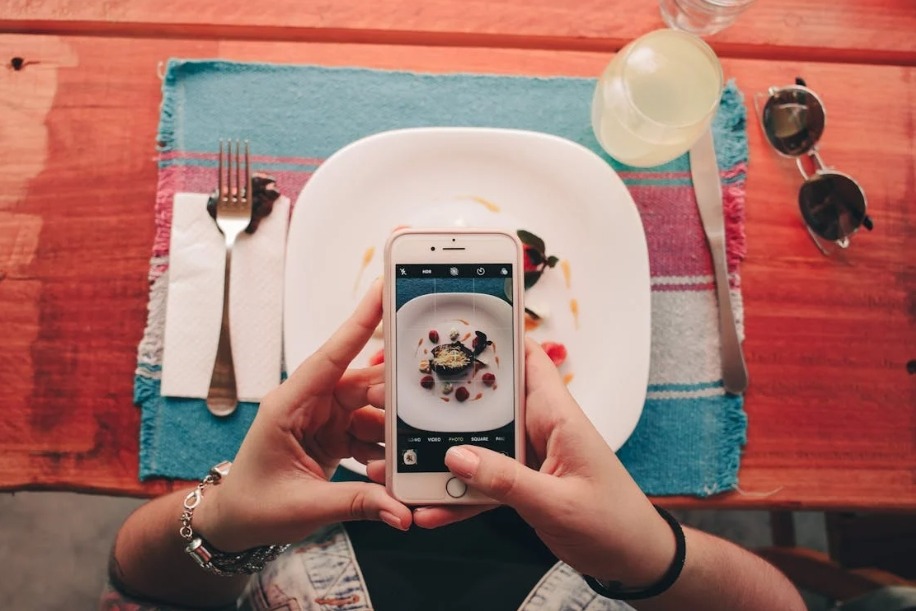
Even without a professional camera to take stunning pictures with, your smartphone can do the job just fine. Here are five tips to help you elevate your food photography game for Instagram.
1. Use Natural Light
Lighting is one of the most crucial elements of good photography, and this holds true for food as well. Natural light is your best friend when photographing food. It enhances the colors and textures, making the dish look more appetizing.
Whenever possible, position your food near a window to take advantage of soft, diffused light. Avoid direct sunlight, which can create harsh shadows and overexposed areas.
Pro Tip: If natural light is scarce, consider using a white napkin or a piece of parchment paper to diffuse artificial light. This will soften the shadows and give your food a more natural, appealing look.
2. Play with Angles
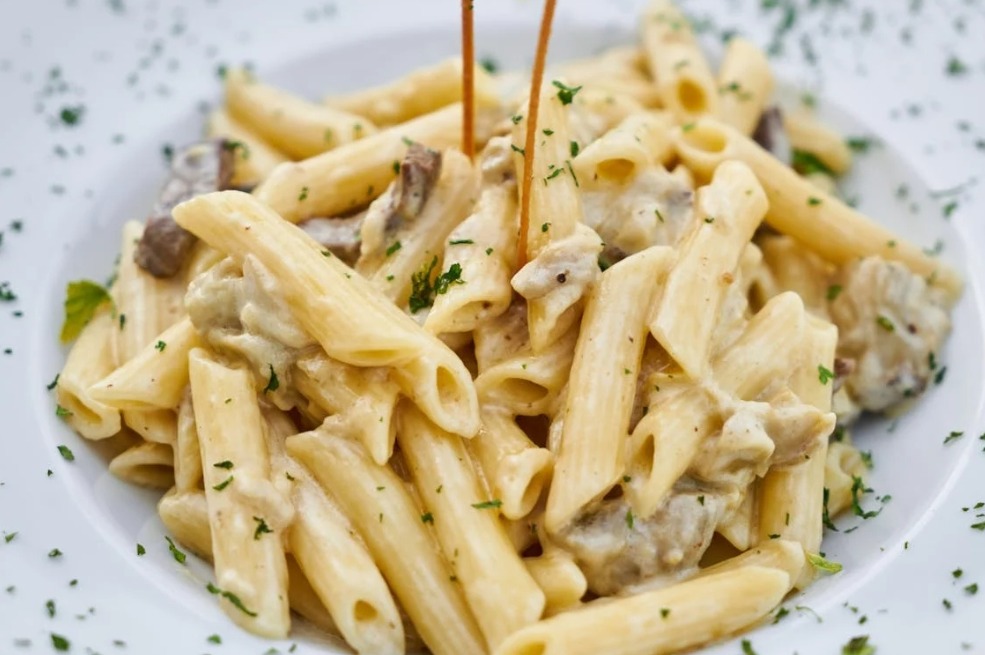
The angle at which you photograph your food can drastically change the perception of the dish. Experiment with different perspectives to find the most flattering angle for your subject. A 45-degree angle works well for most dishes, giving a sense of depth while showcasing the layers and ingredients.
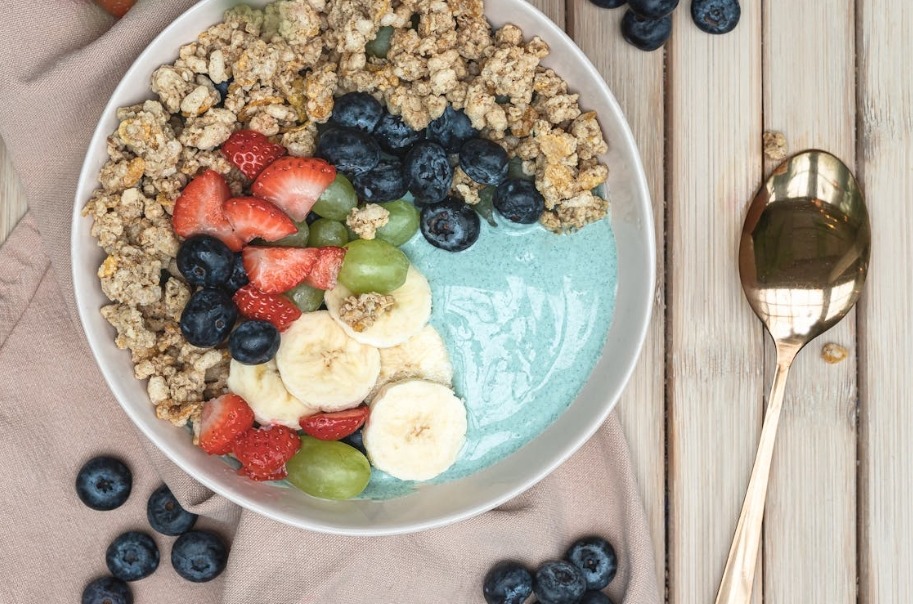
Overhead shots are great for flat lays, like pizzas, salads, or charcuterie boards, where you want to highlight the arrangement of the items.
Pro Tip: Get up close to capture the details, especially when photographing textured foods like cakes, pastries, or intricate garnishes. Close-ups can make the viewer feel like they’re about to take a bite.
2. Keep Your Composition Simple
In food photography, less is often more. A cluttered background can distract from the main subject and make the photo appear chaotic. Instead, focus on simplicity and balance. Use clean lines and negative space to draw attention to the food.
A minimalistic approach with a few carefully chosen props, like a fork, napkin, or a sprig of herbs, can add context without overwhelming the shot.
Pro Tip: Use the rule of thirds to compose your shot. Imagine a grid dividing your frame into nine equal parts, and place the most important elements along these lines or at their intersections. This technique creates a balanced and visually appealing image.
3. Enhance with Editing
Even the best photos can benefit from a little editing. Apps like Lightroom, Snapseed, or VSCO offer a range of tools to enhance your food photography. Adjust the brightness, contrast, and saturation to make the colors pop, but be careful not to overdo it—your food should still look natural and delicious.
Slightly increasing the sharpness can help bring out the details, while a subtle vignette can draw the viewer’s focus toward the center of the image.
Pro Tip: When editing, pay attention to the white balance. If the image looks too warm (yellowish) or too cool (bluish), adjust the temperature to achieve a more accurate color representation of the food.
5. Master Focus and Depth of Field
Achieving the right focus and depth of field can make a significant difference in your food photography. Most smartphones allow you to tap on the screen to set the focus point, ensuring the main subject of your photo is sharp and clear.
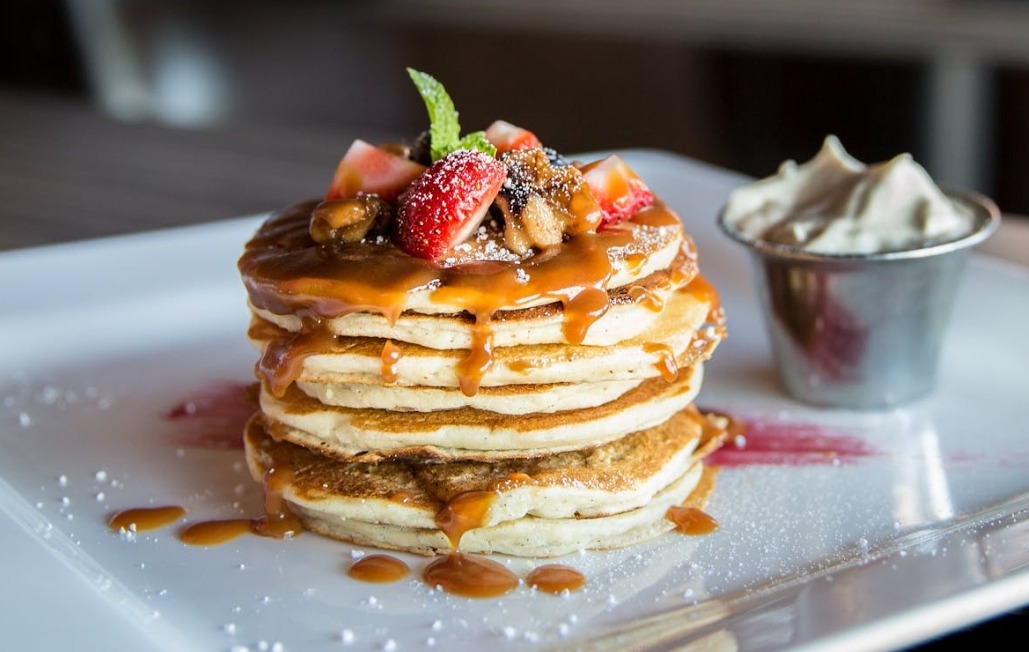
Additionally, you can use the portrait mode or adjust the aperture (if your phone has this feature) to create a shallow depth of field. This effect blurs the background, drawing more attention to the food itself and adding a professional touch to your photos.
Pro Tip: If your smartphone doesn’t have a built-in aperture control, you can create a similar effect by physically moving closer to your subject. This will naturally decrease the depth of field and produce that desirable background blur.

Leave a Reply